Top Tips and Techniques for Creating an Attractive Sales Floors with Good Product Displays
No matter how well-branded and attractively designed a product’s packaging is, it’s useless unless customers are actually paying attention to it in the first place. And with so many appealing items in any one store, how do you get certain items to stand out from the crowd?
One of these best ways you can do this is to leverage the power of effective product displays in combination with an attractive sales floor. By using carefully chosen tips and techniques, you can optimise the way shoppers navigate your shelves and view certain items in your store while supporting your shop’s brand and overall image. In this article we explore exactly how you can do this.
What Makes an Effective Product Display?
Use Visual Merchandising to Leverage the Benefits of Certain Products
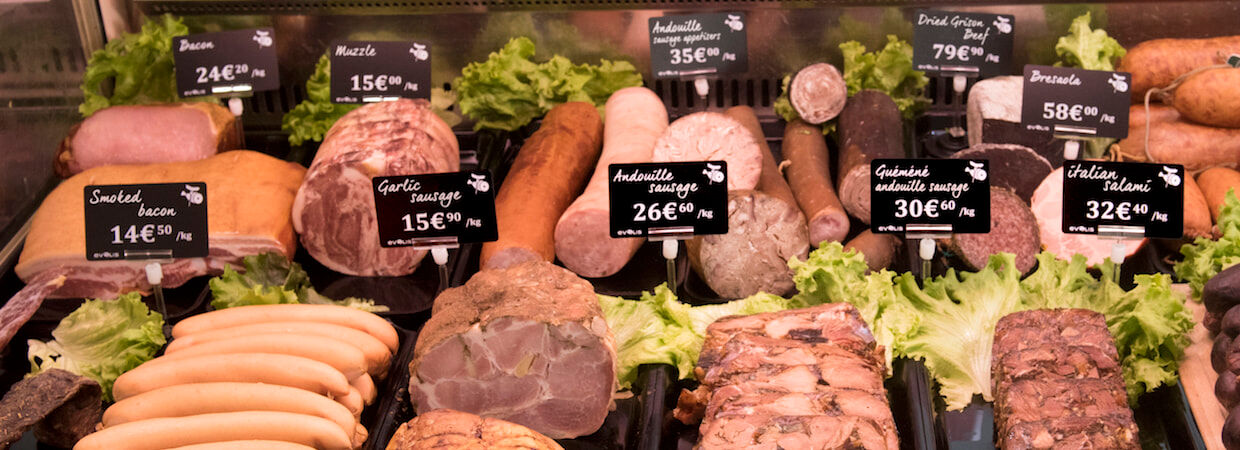
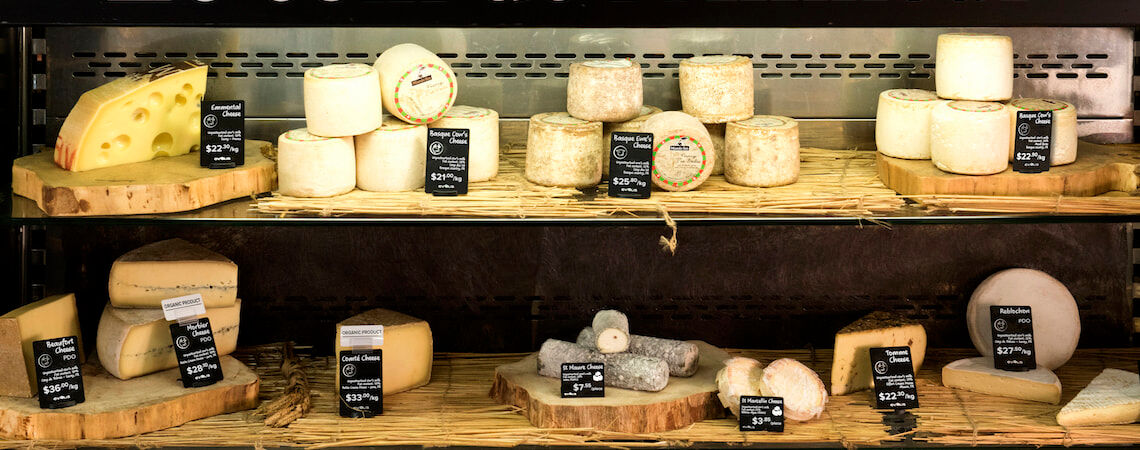
Visual merchandising is a great way to make an immediate impact on customers. As a customer’s journey first begins with discovery, using things like price cards and price card stands lets you initiate your conversation with potential shoppers, motivating them to pay closer attention to your products and make certain purchasing decisions.
When performed effectively, these marketing aids can also create a unique and attractive atmosphere in your store, employing everything from colors and patterns, to layouts and materials, to craft a positive and brand-focused sales floor that is much more likely to convert.
Use Your Visual Branding to Craft Your Shop’s Unique Atmosphere and World View
Visual merchandising is just another tool in your arsenal for creating a powerful experience for shoppers. And in the end, that’s what people are really looking for with their shopping experiences whether they’re buying online or in-store.
However, having a physical shop lets you play with a number of different elements to create a completely unique and enthralling environment as part of your brand’s vision and world view. In addition to time-proven product display strategies, your POPs and price cards can be used to differentiate yourself from competitors and create a unique and exciting sales floor that entices shoppers into picking up one of your products.
How to Integrate Price Cards into Your Product Displays

Use Uniform Spacing for Easy-to-Read Product Displays
Consistency plays a large part in how human’s process information. Without going too deeply into the science, when information is consistently ordered and spaced out, it is much easier for people to process it — making them more likely to react positively to any product messaging.
To get this right, enforce uniform spacing and layout templates across all your displays. This means using the same line spacing between sentences as well as equal spacing between the different visual elements on your cards, such as images or symbols.
All this allows you to introduce some necessary “breathing space” in your marketing messages, making it easier (and more pleasant) to digest. And if nothing else, all this helps to create a more visually appealing atmosphere that can support your brand.
Use Price Card Sizes that Perfectly Match Your Products
Choosing a price card or other visual display of an appropriate size is incredibly important. Something too big or too small won’t have the effect you want. The trick is to balance the size and shapes of your price cards with each product type. For medium-sized products, a small price card size should suffice. While a larger price card might attract more attention, it will actually obscure the view of the actual product.
You should also consider whether the price card is best displayed in front or behind the product for the biggest impact. You should be able to use common sense to find the perfect position, but pay attention to the angle that customers approach the product from. Finally, even though you might use a collection of different price card and POP designs, try to create unity across your shop’s visual merchandising by using complementary designs, sizes, and arrangements.
Top 3 Product Display Techniques that Drive Sales

Place Your Most Valuable Products Along the “Golden Line”
The “Golden line” is located at the most convenient height for an average shopper to reach out and pick up the product. This is approximately 85 to 150 cm off the shop floor. If you don’t remember anything else from this blog (which we’re sure won’t be the case!), remember that most products sold in a store are taken from this golden line.
Whether this is because shop owners and managers already adhere to this technique and always place their best items here, or whether it's simple psychology, is really up to you to decide, but regardless of this, it’s important to strategically place your products on your store shelves with this in mind.
Having said this, the convenience for someone to reach out and pick up an item at a certain height will of course depend on their specific height. So if you want to get really strategic, consider the height of your average shoppers, which may vary between sexes or people of different nationalities.
Place Your Most Recommended Products Center Stage or Slightly to the Right
Following the same “Convenience principle”, place your recommended items at the center of your shelf arrangements or slightly to the right. This has proven to be where people’s attention naturally falls and the location that is the easiest to reach with their hands if they choose to pick up an item (given that 90% of people are right-handed).
Therefore, putting your important products here will increase their visibility and the probability of your shoppers placing these items in their shopping cart.
Arrange Your Most and Least Sellable Items Interchangeably
When it comes to certain popular products, customers will probably search out and purchase them no matter where they are placed. However, other items can be massively neglected. To even the score here, place your most and least sellable items along the same shelves or surfaces to improve the chances of your harder-to-sell items being picked up.
One great example of this strategy is arranging products that can sell easily at both ends of your shelves, while leaving the centre section for less desirable products that you are trying to shift quickly. These items will borrow some of the credibility of their more popular counterparts and customers may subconsciously re-evaluate their purchasing decision based on this.
If you’re looking to test out the theory, why not try placing one of your more “stubborn” products alongside your best sellers and see what happens?
